
Leah LOVES hair. So much so, she dedicated an entire website to it! One of the founders of Hair Everyday and Chief Editor, Leah enjoys reviewing all the hair products and showcasing the best. She believes her most underrated articles are her hair care tips!
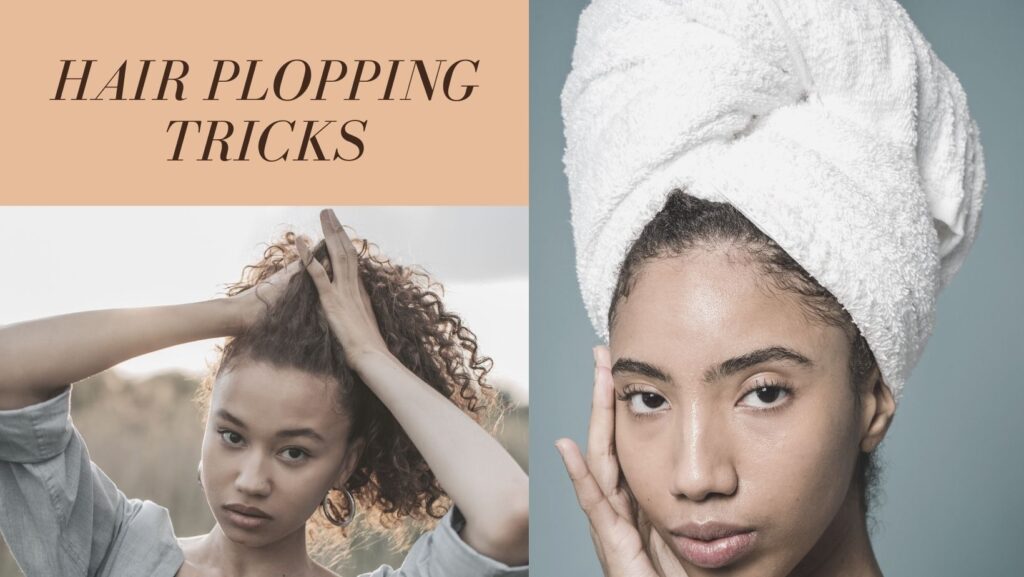
How to plop hair to get the perfect curls. Check out our step-by-step guide on plopping your hair!
Curly hair can be a wild, beautiful, and sometimes unruly beast. As a seasoned hairstylist and hair care expert with a decade of experience in the US, I understand the struggles many people face in taming their curls.
One technique that has gained popularity for its effectiveness in enhancing curl definition and minimizing frizz is “plopping.”
In this comprehensive guide, I’ll walk you through the art of plopping, exploring its benefits and providing step-by-step instructions to achieve those perfect curls.
How To Plop Hair?
What You’ll Need For Plopping Hair
Before we dive into the plopping process, let’s gather the necessary supplies:
- Microfiber towel or Cotton T-shirt: Opt for a gentler alternative to regular towels to prevent frizz and maintain curl integrity.
- Hair clips or Ponytail holder (optional): Useful for securing the plop in place.
- Styling products: Choose your favorite leave-in conditioner, gel, or mousse to enhance curl definition.
Step-by-Step Instructions To Plop Your Hair
Prep your hair:
- Wash and condition: Begin with your usual hair cleansing routine.
- Apply styling products: While your hair is still soaking wet, distribute your chosen styling products evenly.
- Gently detangle: Use a wide-tooth comb or your fingers to gently detangle your hair, ensuring even product distribution.
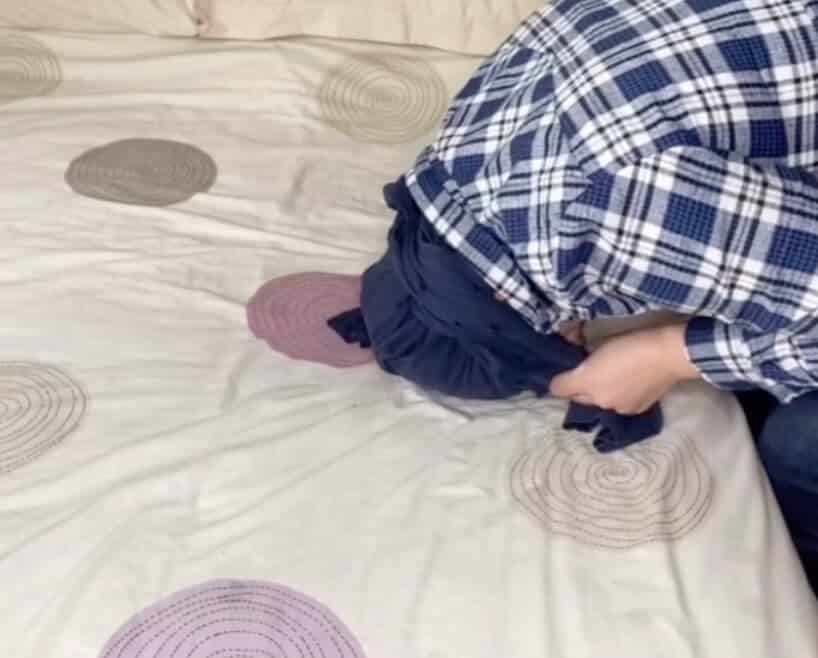
Plop the hair:
- Lay the foundation: Spread the microfiber towel or T-shirt on a flat surface.
- Position your hair: Bend forward and gently lay your hair on the center of the towel.
- Create the plop: Bring the ends of the towel up and over your head, gathering them at the back of your neck.
- Secure the plop: Use hair clips or a ponytail holder to secure the towel in place. Alternatively, try the “turban” method by twisting the ends of the towel around your head.

Let it dry:
- Timing is key: Leave the plop in for 15-30 minutes or until your hair is mostly dry.
- Accelerate drying: Use a hairdryer with a diffuser attachment on low heat to speed up the process.
Release the plop:
- Gently unwrap: Remove the towel and “scrunch” your hair upwards to break up any clumps.
- Air-dry or use a diffuser: Allow your hair to air-dry completely or speed up the process with a diffuser on low heat.
Finishing touches:
- Combat frizz: Apply a small amount of anti-frizz serum or oil to smooth flyaways.
- Define curls: Gently finger-comb your hair to enhance curl definition.
Tips for Success To Plopping Your Hair
- Choose the right material: Opt for a microfiber towel or cotton T-shirt to prevent frizz.
- Avoid twisting or wringing: Handle your hair gently to prevent unnecessary frizz.
- Experiment: Try different plopping methods and drying times to discover what works best for your unique hair.
- Even product application: Ensure styling products are distributed evenly for consistent curl definition.
- Hands-off approach: Resist the urge to touch your hair too much while drying to minimize frizz.
Variations on the Plopping Technique
Plopping isn’t a one-size-fits-all technique. The beauty of it lies in its versatility, allowing you to tailor the method to suit your specific hair type, length, and personal preferences.
Here are some variations on the plopping technique that you can explore to achieve the perfect curls for your unique hair:
1. Turban Twist:
Description: Instead of folding the towel over your head, try the turban twist method. After laying your hair on the towel, twist the ends and wrap them around your head, securing them in place. This variation can provide a different level of tension, helping to enhance curl definition.
Benefits:
- Offers a secure and comfortable hold.
- Can contribute to more consistent curl formation.
2. Half-Plop:
Description: If you’re short on time or prefer a more relaxed style, consider the half-plop. Lay the towel or T-shirt over the back half of your head, allowing the front section to hang loose. This method is ideal for individuals with shorter hair or those who want to maintain more volume at the roots.
Benefits:
- Speeds up the drying process.
- Preserves volume at the crown.
3. Pineapple Plop:
Description: Perfect for those with longer hair, the pineapple plop involves gathering your hair at the top of your head and securing it with a loose ponytail holder or hair tie. This variation is excellent for preserving curls and preventing them from getting flattened while you sleep.
Benefits:
- Maintains curl integrity overnight.
- Reduces friction on curls during sleep.
4. Hooded Dryer Plop:
Description: For those who prefer the controlled heat of a hooded dryer, incorporate it into your plopping routine. After plopping, sit under a hooded dryer on low heat to accelerate the drying process while maintaining the benefits of the plop.
Benefits:
- Efficient and controlled drying.
- Ideal for those with limited time.
5. Multi-Product Plop:
Description: Experiment with layering multiple styling products during the plopping process. Apply a leave-in conditioner, followed by a styling gel or mousse to enhance curl definition and provide long-lasting hold.
Benefits:
- Customizable to address specific styling needs.
- Allows you to achieve a personalized level of hold and definition.
6. Heat-Enhanced Plop:
Description: Combine the plopping technique with heat for a more intense styling session. After plopping, use a hooded dryer or a hairdryer with a diffuser attachment on low heat to set the curls.
Benefits:
- Speeds up the drying process.
- Enhances the effectiveness of styling products.
7. Sectioned Plop:
Description: If you have thick or long hair, try sectioning it before plopping. Create two or more sections and plop each section individually to ensure even product distribution and optimal curl formation.
Benefits:
- Prevents uneven styling results.
- Allows for better control and customization.
Explore these variations on the plopping technique to discover what works best for your hair. Feel free to mix and match these methods or incorporate elements from different variations to create a plopping routine that suits your unique needs and preferences.
Remember, the key is to enjoy the process of experimenting and finding the perfect plopping technique that enhances your curls beautifully.
Conclusion
In conclusion, plopping is a game-changer for those seeking beautifully defined curls with minimal frizz.
By following these step-by-step instructions and incorporating the suggested tips, you’ll unlock the potential of your natural curls.
Embrace the plop, experiment with the process, and revel in the beauty of your perfectly defined curls. Your hair will thank you for it!
Also Read:
- Affordable Curly Girl Method Products
- How To Get Rid of Frizzy Curly Hair
- How To Get Curly Hair With Straight Hair
- How To Get Volume in Curly Hair Using Clips
- What Are The Best Hair Towels for Plopping 4C Hair
To Summarize